Classic Homemade Vanilla Ice Cream – Creamy, Simple, and Better Than Store-Bought
Vanilla ice cream might sound basic, but when it’s made right, it’s the richest, most comforting dessert you can have. No artificial flavors, no weird stabilizers, just cream, milk, eggs, sugar, and real vanilla. This is the kind of recipe that turns a normal Tuesday into something special.
Why Make It at Home?
Store-bought ice cream is often loaded with air and additives to keep costs down. Homemade ice cream is denser, smoother, and you control exactly what goes in. Plus, once you master vanilla, you’ve got the perfect base for chocolate, strawberry, salted caramel, or anything else you can think of.
Ingredients You’ll Need
- 2 cups heavy cream – for that rich, creamy texture
- 1 cup whole milk – balances the fat so it’s not too heavy
- 3/4 cup granulated sugar – sweetens without overpowering
- 4 large egg yolks – create the custard base that prevents iciness
- 1 vanilla bean or 2 tsp pure vanilla extract – the star of the flavor
Step-by-Step Method
1. Make the custard
Warm the milk and half the cream in a saucepan until steaming. In a separate bowl, whisk egg yolks and sugar until pale. Slowly pour the hot milk into the yolks while whisking to avoid scrambling the eggs. This is called tempering.
2. Thicken the base
Return the mixture to low heat and stir constantly for 5-7 minutes until it coats the back of a spoon. If you draw a line with your finger on the spoon, it should hold.
3. Chill it down
Strain the custard into a clean bowl, stir in the remaining cream and vanilla. Cover and refrigerate for at least 4 hours, or overnight. A cold base is the secret to smooth ice cream.
4. Churn or stir-freeze
If you have an ice cream maker, churn according to the instructions.
No machine? Pour into a shallow container, freeze for 2 hours, then stir vigorously with a fork. Repeat every 30 minutes for 2 hours to break up ice crystals.
5. Freeze until firm
After churning, transfer to a container and freeze for another 4 hours. Let it sit at room temperature for 5 minutes before scooping.
Pro Tips for Perfect Results
- Use real vanilla: The tiny black specks from a vanilla bean look great and taste better than extract.
- Don’t rush the chilling: Warm custard creates ice crystals. Patience here = creaminess.
- Add mix-ins late: Fold in chocolate chips, fruit, or swirls of caramel in the last 5 minutes of churning so they stay evenly distributed.
Serving Ideas
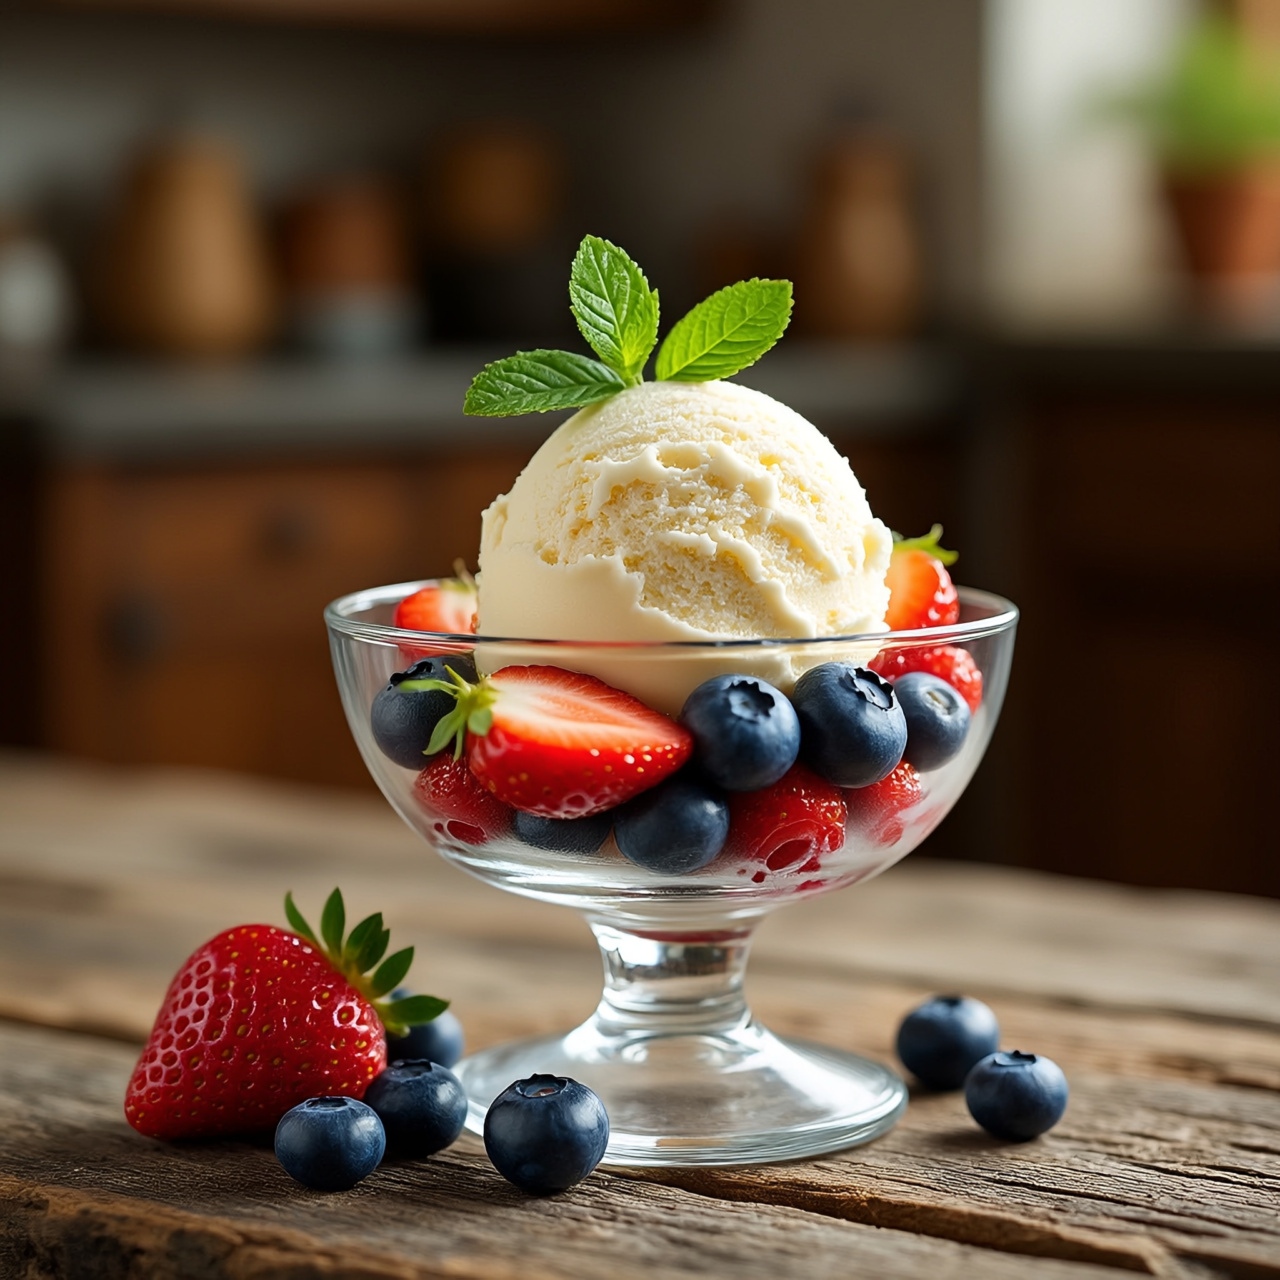
Serve it with warm brownie, fresh berries, or a drizzle of hot fudge. It also makes the perfect affogato: just pour a shot of hot espresso over a scoop and watch it melt.
Once you try this, you’ll see why homemade vanilla ice cream is worth the effort. It’s simple, customizable, and tastes like it came from a high-end gelato shop.
Want me to give you the 2-ingredient no-cook version too? It’s even faster if you’re in a hurry.