Ghriba Bahla: Easy Moroccan Shortbread Cookies That Melt in Your Mouth

Ghriba Bahla: Easy Moroccan Shortbread Cookies That Melt in Your Mouth

Article:

What is Ghriba Bahla?

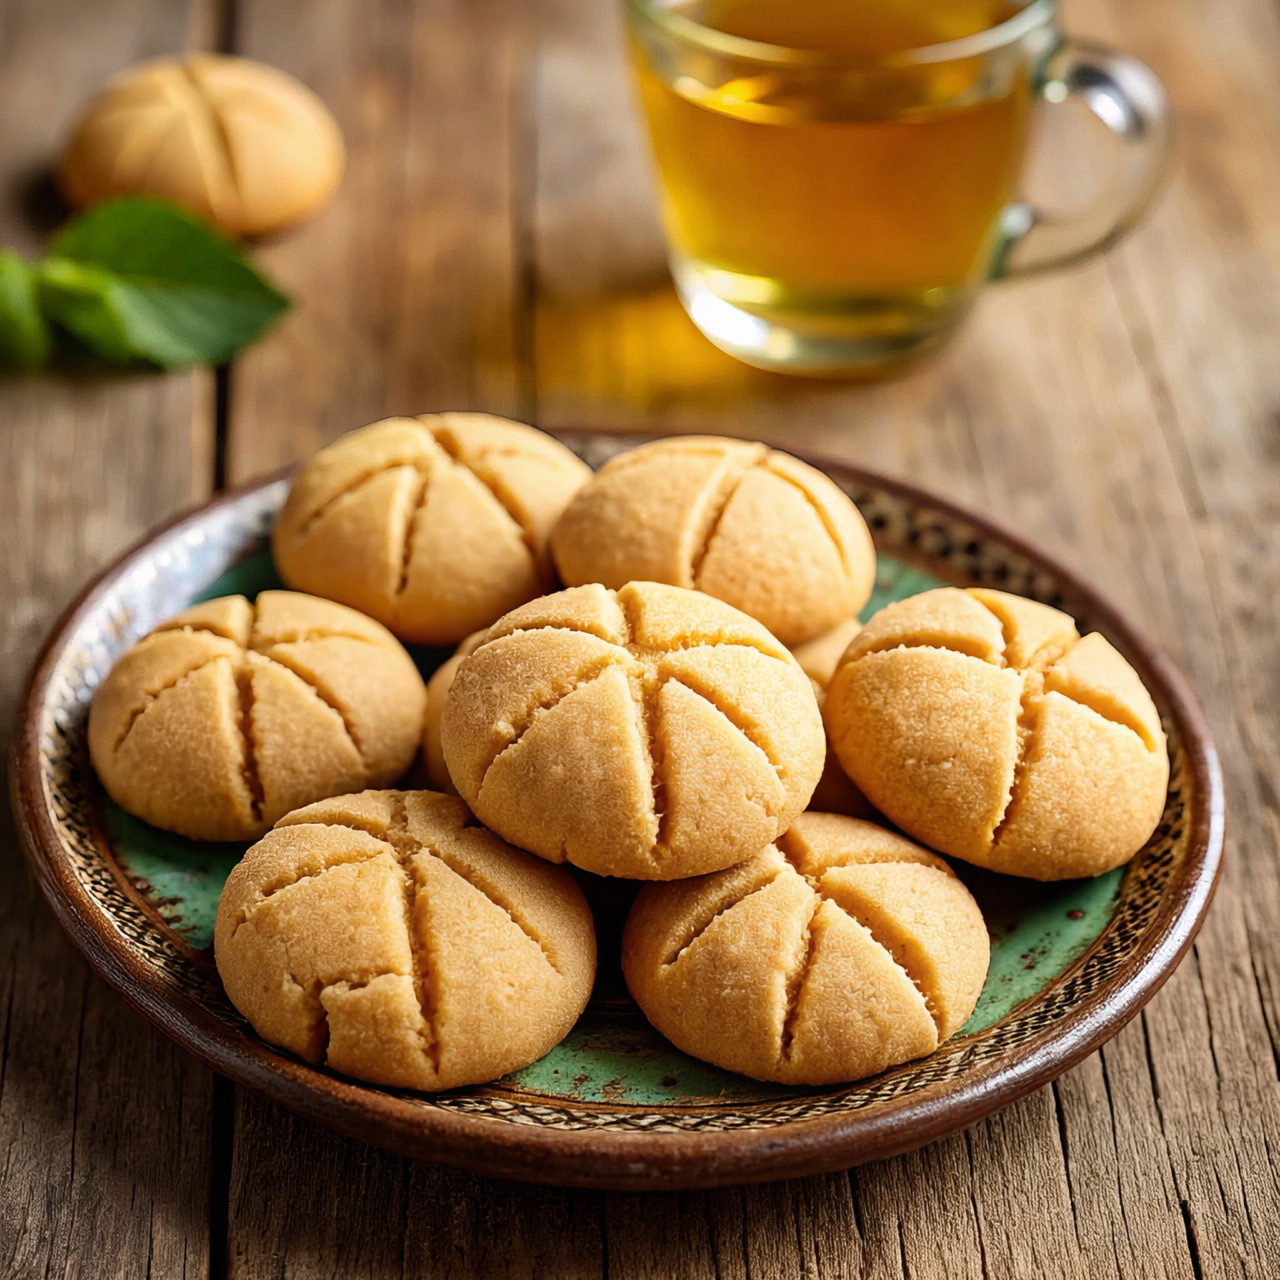
Ghriba Bahla means “silly cookie” in Moroccan Arabic, but there’s nothing silly about how delicious these are. It’s Morocco’s most famous shortbread cookie. You’ll find it at every Eid, wedding, and family gathering next to a glass of hot mint tea.

The magic of Ghriba Bahla is the “cracked” top. When baked right, the top cracks naturally to show a soft, crumbly, melt-in-your-mouth inside. It’s made with simple pantry ingredients and comes together in one bowl.

Why This Recipe Works

  1. One Bowl Recipe: No mixer needed. Just mix with your hands.
  2. 4 Ingredients Only: Flour, sugar, oil, and sesame. That’s it.
  3. 30 Minutes Total: 10 min prep, 20 min bake.
  4. Perfect for Beginners: Very hard to mess up if you follow the oil trick.

Ingredients
For 25-30 cookies:

  • All-purpose flour: 500g, about 4 cups, sifted
  • Powdered sugar: 150g, about 1 and 1/4 cup, sifted. Must be powdered, not granulated
  • Vegetable oil: 250ml, about 1 cup + 1 tbsp. Use neutral oil. This is the key ingredient
  • Toasted sesame seeds: 3 tbsp, optional but traditional for authentic flavor
  • Baking powder: 1 tsp, helps create the signature cracks

Step-by-Step Instructions

Step 1: Mix Dry Ingredients
In a big bowl, mix the flour, powdered sugar, sesame seeds, and baking powder with your hands. Break up any lumps with your fingers.

Step 2: Add Oil – The Secret
Pour the oil in slowly while mixing with your hand. Keep kneading for 4-5 minutes until you get a soft dough that holds together when you squeeze it. It should feel like wet sand. If it’s too dry and crumbles, add 1 tbsp more oil. If it’s too wet and greasy, add 1 tbsp flour.

Step 3: Shape the Ghriba
Take a piece of dough the size of a walnut. Roll it into a smooth ball, then press it lightly between your palms to make a thick disc about 1-inch thick. The cracks will form naturally. Don’t press too hard or flatten it too much.

Step 4: Bake to Pale Perfection
Place the discs on a baking tray lined with parchment paper, leaving 1 inch between them. Bake in a preheated oven at 180°C / 350°F for 15-20 minutes. The secret: they should stay pale white with light golden cracks. If they turn golden brown, they’ll be hard instead of crumbly.

Step 5: Cool Completely Before Moving
Let them cool on the baking sheet for 20 minutes. They are extremely fragile when hot and will firm up as they cool to that perfect sandy texture.

Pro Tips for Perfect Cracks

  1. The oil ratio is critical: 250ml oil to 500g flour is the golden ratio. Measure it.
  2. Don’t overwork the dough: Mix just until it comes together or cookies will be tough.
  3. Don’t press the balls flat: Light pressure only. The oven heat makes them crack naturally.
  4. Bake until just pale: Pale is perfect. Golden brown means dry, hard cookies.

How to Serve & Store
Serve at room temperature with Moroccan mint tea. Store in an airtight container for up to 3 weeks. They taste even better on day 2.

Did you make this recipe?
Leave a comment and tell me how your cracks turned out!

One Bowl American Cornbread Recipe: Moist, Buttery & Easy

Article Body:

Nothing says classic American comfort food like a warm slice of cornbread. This Southern staple is buttery, slightly sweet, and has those perfect crispy edges. Best of all, we’re making this entire recipe in just one bowl with no mixer needed.

What is American Cornbread?
American cornbread is a quick bread made with cornmeal. In the South, it’s usually savory and baked in a cast iron skillet. In the North, it’s a bit sweeter and cake-like. Our one bowl version is the perfect middle ground: moist, tender, with just a hint of sweetness. It’s the ultimate side dish for chili, BBQ, or Thanksgiving dinner.

Why You’ll Love This One Bowl Cornbread

  • One bowl recipe – Dump, stir, bake. Cleanup is 30 seconds
  • Ready in 30 minutes – From bowl to table in half an hour
  • No buttermilk needed – We use regular milk + lemon juice as a hack
  • Freezer friendly – Make a double batch and freeze slices

Ingredients
  

  • 1 cup yellow cornmeal
  • 1 cup all-purpose flou
  • r1/4 cup granulated sugar
  • 1 tbsp baking powder
  • 1/2 tsp salt1 cup milk
  • 1 tbsp lemon juice or white vinegar

Method
 

  1. Step 1: Preheat and PrepPreheat your oven to 400°F or 200°C. Place an 8-inch cast iron skillet or baking pan in the oven while it heats. A hot pan = crispy edges. In one large bowl, add milk and lemon juice. Let it sit for 5 minutes. This makes homemade buttermilk.
  2. Step 2: Mix the BatterTo the same bowl with the milk, add the egg and melted butter. Whisk with a fork. Now add cornmeal, flour, sugar, baking powder, and salt. Stir with a spoon until just combined. A few lumps are okay. Don’t overmix or your cornbread will be tough.
  3. Step 3: BakeCarefully remove the hot pan from the oven. Add a small piece of butter and swirl to coat. Pour the batter into the hot, buttered pan. It should sizzle. Bake for 20-22 minutes until the top is golden and a toothpick comes out clean.
  4. Step 4: Serve WarmLet it cool for 5 minutes, then slice into wedges. Serve warm with extra butter and honey. The steam will make your kitchen smell like a Southern grandma’s house.
    How to Serve American CornbreadThe classic way: With a big bowl of chili or BBQ ribs. For breakfast: Drizzle with honey and butter. For Thanksgiving: Use it as a base for cornbread stuffing. Pro move: Crumble it into a glass of cold buttermilk.

Pro Tips for Perfect Cornbread

  1. Use a hot cast iron skillet. This is the secret to crispy, golden edges that everyone fights over.
  2. Don’t skip the sugar. Even Southern cornbread needs 1-2 tbsp to balance the cornmeal. It won’t taste like cake.
  3. Don’t overbake. Pull it out when the center is just set. Overbaked cornbread is dry and crumbly.

Storage
Store at room temp wrapped in foil for 2 days. For longer storage, wrap slices and freeze for up to 3 months. Reheat in the oven at 350°F for 10 minutes to bring back the crispy edges.

This one bowl American cornbread recipe is pure comfort. It’s the recipe your family will ask for every time you make chili. Tag us @easyonebowlbakes when you make it!

Authentic Belgian Waffles – Crispy & Fluffy

Authentic Belgian Waffles – Crispy & FluffyThese authentic Belgian waffles are crispy on the outside and light and fluffy inside. This Belgian waffles recipe uses yeast for the real Brussels street-food texture. Perfect for breakfast or brunch.Why This Belgian Waffles Recipe Is DifferentReal Belgian waffles are not the same as American waffles. Belgian waffles use yeast and beaten egg whites. This makes them airy inside with deep pockets for syrup. I learned this recipe from a bakery in Bruges. It took me 3 tries to get it right.These Belgian waffles take 90 minutes because of the rise time, but the hands-on work is only 10 minutes. You can make the batter the night before. They freeze perfectly too.Ingredients for Belgian Waffles- 2 1/4 tsp active dry yeast- 1/3 cup warm water- 3 cups all-purpose flour- 1/4 cup granulated sugar- 1/2 tsp salt- 2 cups whole milk, warmed- 1/2 cup butter, melted- 3 large eggs, separated- 1 tsp vanilla extract- Powdered sugar and maple syrup for servingHow to Make Belgian Waffles Step by StepStep 1: Dissolve yeast in warm water. Let sit 5 minutes until foamy.Step 2: In a large bowl, whisk flour, sugar, and salt. Add warm milk, melted butter, egg yolks, vanilla, and yeast mixture. Mix until smooth.Step 3: In another bowl, beat egg whites until stiff peaks form. Gently fold into batter. Don’t overmix.Step 4: Cover and let batter rise 60 minutes until doubled. It will be bubbly.Step 5: Heat Belgian waffle iron. Spray with oil. Pour 3/4 cup batter per waffle. Cook 4-5 minutes until golden and crisp.Step 6: Serve hot with powdered sugar, fresh berries, whipped cream, or real maple syrup.Pro Tips for Perfect Belgian Waffles1. Use a Belgian waffle maker with deep grids. Regular waffle makers won’t work.2. Don’t skip beating the egg whites. This is the secret to fluffy texture.3. Keep cooked waffles warm in a 200°F oven while you finish the batch.4. For overnight waffles: Make batter, cover, and refrigerate 8 hours. Let sit 30 min before cooking.These Belgian waffles taste like you bought them from a street cart in Brussels. The yeast gives them a slight tang that balances the sweetness. My kids eat them plain because they’re that good.Store leftovers in the freezer 3 months. Reheat in the toaster for instant crispy waffles.Want a savory dinner? Try my Classic Beef Stroganoff next for the perfect brunch-to-dinner combo.Learn more about the history of Belgian waffles on Visit Belgium’s official site.